As an aquarist, taking care of your fish tank is the most important thing ever! As your aquatic pets have to metabolize and stay in that confined space, the water inside is bound to become dirty and toxic. Hence, regular water changes are necessary to ensure a good environment. While cleaning an aquarium filter is an easy task, do you know how to clean canister filters?
It is a known fact that aquarium filters can be of different types like sponge filters, HOB filters, canister filters, etc. A canister filter is a special type of external filter (Eheim canister filter, Fluval canister filter, Penn Plax Cascade Canister filter) that most people prefer to use. Mostly because it can provide biological filtration, mechanical filtration, and chemical filtration at the same time.
Not to mention it is compatible with both freshwater and saltwater aquarium. Having a multi-purpose fish tank filter is definitely going to serve you in many aspects.
Benefits of A Canister Filter
For its extraordinary features, low maintenance, and easy installation process, most fish tank owners prefer using a canister filter.
- You can use it like a vacuum cleaner for your aquarium.
- Most canister filters offer you all three types of filtration, thus removing the need for another filter.
- This filter makes sure the flow rate and the direction of the tank water are consistent all the time.
- The installation procedure is trouble-free, and you can easily do it yourself.
- You can install a canister filter in both freshwater and saltwater aquarium.
- The biological filter of this filter effectively eliminates ammonia from the tank water. Thus, making the atmosphere healthier and more suitable for aquatic living.
- While compared with other filter systems, canister filters are considerably quiet.
Tools You Need to Clean the Canister Filter
The first and most important thing before you start cleaning the filter is to accumulate the right tools. You will need a toothbrush to scrub the growing algae, and a scrubbing pad to remove the stuck wastes. You will also need a sink with moderate water pressure.
A short list of the tools you will need for cleaning the filter is given below.
- Toothbrush
- Scrub pad
- Sink
- Q-tip
- Towel
- Clean workspace
- Aquarium water
- Polishing pad
How To Clean A Canister Filter?
How To Clean A Canister Filter
Cleaning a canister filter is not that difficult if you know what you have to do. While this method is applicable to most filters, make sure to check the manufacturer’s manual for the best result.
Step 1: Turn Off The Filter
Before you start with the cleaning process, the first step is to switch off the filter power. Detach it from the power socket and then check the outlet hose. If you see no water flowing out of it, you can go for the next step.
Step 2: Switch Off The Shut-Off Valves
After unplugging the filter with no water in the tube, turn the shut-off valves to the off position. It will stop the spilling of water when you separate the hoses from the motor.
Step 3: Unscrew the Tubes
Now, slowly turn the bolt nut off the pipe till it gets loose. If there is any trapped water in the motor housing, it will come out.
Step 4: Relocate the Filter
Place the filter in an area where drenching won’t be an issue. It would be better if you can do it in your kitchen sink or use a hosepipe outside. The tap water flow should have high pressure.
Step 5: Take Out the Motor Housing
For this step, you have to release the bolts on all 4 sides. Some water may spill, but it’s not a big issue. You have to take out the motor and put it aside. You get a towel and put it around the filter as well. It will catch the extra water and prevent your counters from flooding.
Step 6: Remove the Insides
Take out everything from the filter except the biological media holding trays. Keep those trays in the water while you’re cleaning the filter. Thus, the beneficial bacteria won’t be harmed. Keep them near your workplace as you have to put them back quickly.
Step 7: Clean
Use the sink or hose to wash the media trays and carefully clean them with a brush or scrub pad. This way, you can remove the algal growth from the filter elements. Use the sink spout or a high-pressure hose to rinse the filter pads.
Step 8: Remove the Impeller
Pull out the impeller from the housing carefully and clean it properly. You have to be extra cautious as the ceramic media filter is easily breakable.
Step 9: Cleaning the Impeller
This step is a crucial point as a dirty impeller can impact the filter’s performance and defect to the motor as well. Make sure to clean all the plastic parts around it, together with the shaft. To avoid extra pressure on the impeller, you can use a toothbrush instead of a scrub brush.
Now take a Q-top and plug it up in the spot where the impeller is attached. This particular hole can gather a lot of mud, which ultimately causes the impeller to malfunction.
Step 10: Remove Bio Media Trays
Now, take out those biological media trays quickly and put them aside. Do it fast because the beneficial bacteria are at risk if exposed to air. Then remove all the water from the canister filter. Never reuse this discarded water.
Step 11: Clean the Canister
If you feel necessary, you can use high-pressure water to rinse the canister filter at first. Make sure there is no debris or algae in the canister once you are done cleaning it. For further assurance, you can use a clean cloth to wipe the inside.
Step 12: Reassemble
At this point, you need to quickly set everything back together in the canister filter. After locking the motor in its original place, you can take back the filter to the aquarium. Don’t forget to tighten the shut-off valves to the pipe of the motor housing. Try to be gentle when you are screwing the pipes because too much force can damage them easily.
Step 13: Switch on The Shut-Off Valves
Now, switch on the valves. Since some air is still trapped inside, the canister will not automatically fill up. To start the fill-up process, you have to push the locking frame on the front. Observe the level of water. Once it hits the housing, lock back the frame in its original part once the water level reaches the motor housing.
Step 14: Plug It In
Lastly, prime the canister with the top priming switch after plugging the canister back. Make sure all the elements are working as they should be. If any of them isn’t functioning properly, check the parts again to ensure everything is working. To avoid getting electrocuted, always make sure your hands and the plug are not wet.
How Often To Clean Canister Filter?
If you are thinking about purchasing a canister filter, make sure to check the manufacturer’s instructions on how to keep it clean. It is always recommended to clean the filter as often as possible, but that may not be possible considering how busy we tend to be. While cleaning a filter is fairly simple, most aquarium owners do it when necessary.
So, there is actually no absolute cleaning schedule for a filter. As an aquarist, it is your responsibility to assess whether it’s time to wash the canister. You just have to observe the general state of your tank. If the tank water is cloudy or murky, the filter material has to be cleaned. If you see gunk or other growth has covered the filter, it’s high time to give it a wash!
When it comes to cleaning, you should also think about the type and condition of filter media inside your canister. Mechanical filter media will need more cleaning than biological media. You may have to change the activated carbon whenever it gets plugged in, or else, toxic substances can pollute the water and harm your pet fish.
While having a canister filter in your fish tank, you should clean the water every three months. We are talking about opening up the filter and cleaning thoroughly. Furthermore, you have to replace the filter mediums like filter pad, filter sponge, and filter floss when necessary.
How To Clean Canister Filter Hoses?
How To Clean Canister Filter Hoses
You can clean the canister filter hoses using three different techniques. You can decide which one is suitable for you and then start applying that one. However, make sure to prepare your hoses before using these methods. Select an open place where you can start working. Then take out the tubes from the unplugged filter and put them in warm water for half an hour.
Lay down a towel or mat in the work area to catch any water leakage. You can also wear gloves during the process. Once you are done, don’t forget to sanitize your hands and the cleaning place.
Different Techniques & Tools for Hoses Cleaning:
Hose Cleaning Brush (Use Your Hose Brush)
This process is the most common and simple one among the three methods. You have to use a traditional bristly hose brush with a long stick, which can easily reach deep inside the hose. Insert the brush into the hose and scrub the dirt away. However, this simple method may take time and effort and can get a bit messy.

While a long-sticked brush can go far into the tube, the further it reaches, the harder the cleaning process will be. You won’t be able to put sufficient pressure to remove all the grime. This fairly inexpensive method will cost you around/ not more than $10 only for that brush. You can check the latest price here.
Hose Magnet (Use Your Magnets)
In this one, the cleaner uses a magnet outside the hose and another cleaning magnet inside the hose. You just have to pull both magnets together with the tube and the cleaning exterior will push the grime and gunk outside. Push the magnets backward and forward to clean the stubborn dirt.
Due to the small size of the cleansing surface on the magnet, this process also needs a while to be complete. However, it can reach the end of the long hose and scrubs with consistent pressure throughout.
Not to mention, it doesn’t create a mess as the cleaning brush does. The magnets can cost you around $13, which is pretty affordable as there are no other expenses. Check price here.
Sump Pump (Use Your Pump)
This one is pretty detailed and hands-free. You will need to immerse the hoses and the sump pump in water and vinegar or water and hydrogen peroxide mixture. Take one cup of hydrogen peroxide for 5 gallons of water. Try to use a large bucket to drench the pump and tubes easily. Switch on the pump to cycle the solvent through the tubes and flush out them.
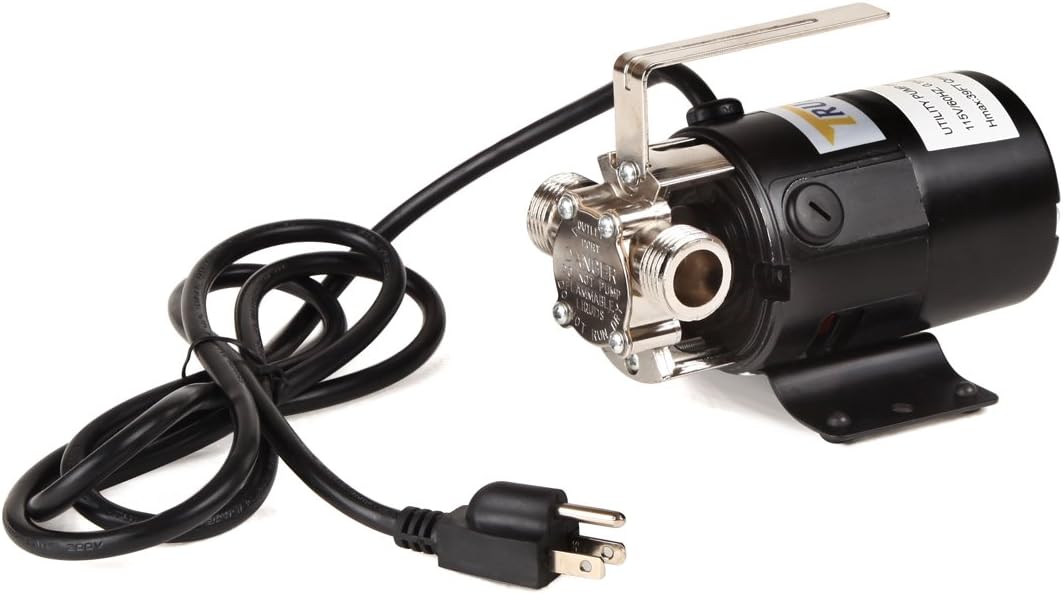
This method may take 30 minutes at best, so use a timer to count the time. No scrubbing is needed as the high-pressured solution will push out the dirt right into the bucket. If you do not have a Sump Pump, we refer you to a mini Sump Pump. Click here for the price.
How Often To Clean Canister Filter Hoses?
How often to clean your filter tube totally depends on the biological load in the fish tank. More specifically, it depends on the number of plants and fish present in the aquarium. Generally, most aquarium owners suggest that you should clean the canister filter hoses every two months if not less.
The more fish, plant, and algal growth there are, the more often you have to clean it. And if your aquarium is already dense with these elements, you should clean the filter hoses as much as possible.
Final Words
Having a fish or turtle tank sounds really amazing for a pet lover. While it sounds fascinating to gaze at those creatures floating around, taking care of their need is mandatory as well. To ensure a balanced aquatic environment, the aquarium water should be adaptable and pure. Besides feeding and water change, you have to clean the aquarium canister filter quite often.
As you have finished our whole write-up, you should have understood by now how to clean the canister filter. Even if you find the steps a little confusing, don’t worry because these methods are pretty simple to do. Just follow the instructions carefully, and you would have no problem with anything.
